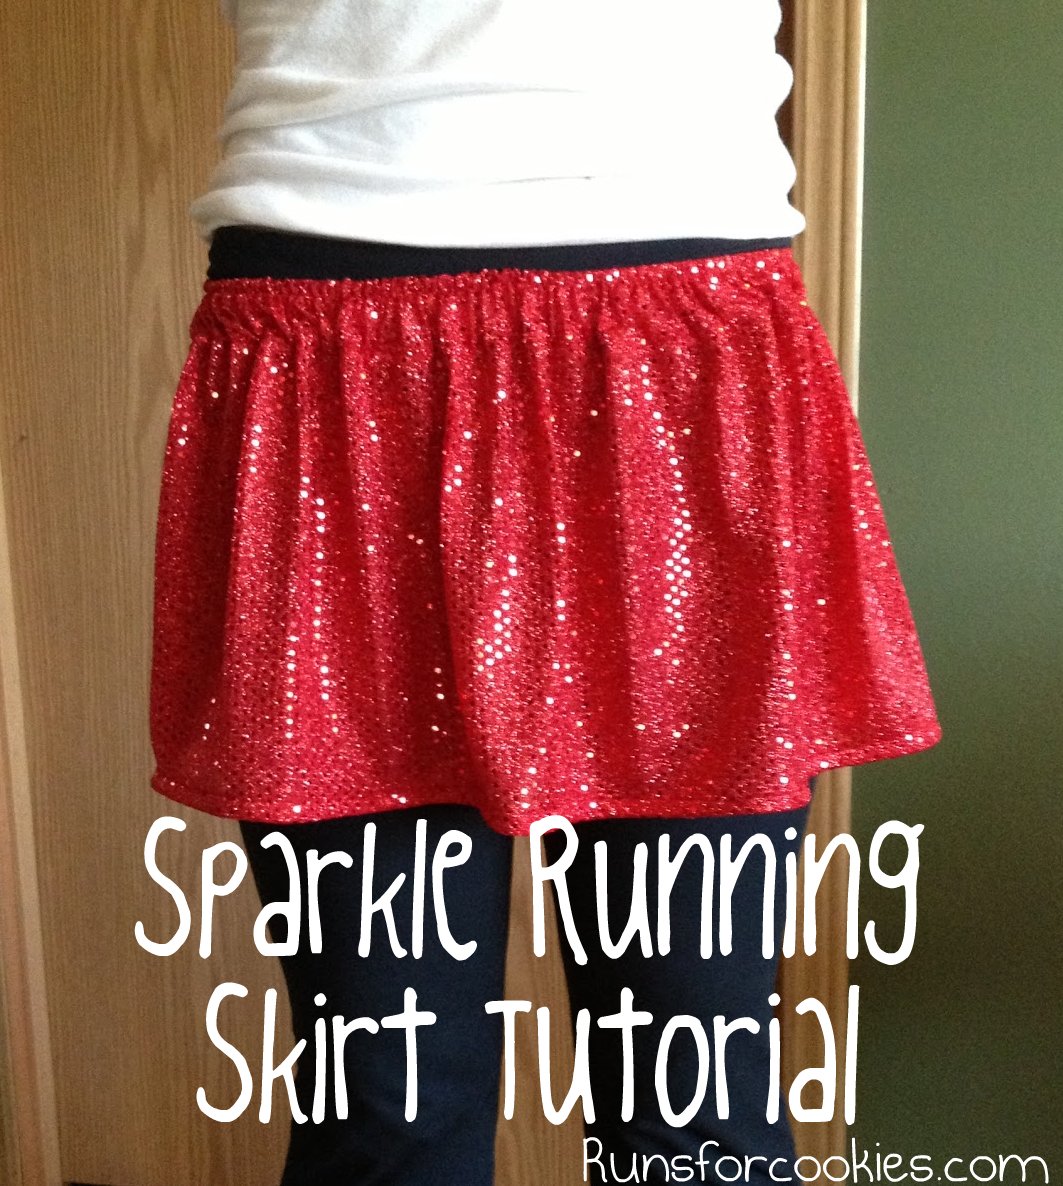

This educational is written for a skirt to suit my size--my hips (where I put on the skirt) are 35", which equates to 29" unstretched elastic. To make it larger, add approximately inches of fabric for every one inch of elastic. (It does not need to be exact). The waist band could be very stretchy, so the size would not have to be ideal.
The finished skirt may be 11 inches lengthy. if you want it longer, simply measure down farther from the glint line (I measured 12 inches down, but simply add however many inches you want to add to the period of the skirt).
each skirt will only cost kind of $10 to make.
Materials:
1 1/2 yards of fabric (you CAN buy 3/4 of a yard and cut it in half, then sew the pieces together--you will have two seams instead of one) 1 1/2 yards will yield 2 skirts. I will explain this better at the very end of the tutorial.
3/4" elastic, 30 inches long
Thread
Scissors, straight pins, a safety pin, and a tape measure
 |
| This is 1.5 yards of fabric folded in half lengthwise. Just ignore the bottom piece for now. If you want, you can make a second skirt out of it. |
 |
| The edge of the fabric looks like this (the sparkles start a couple of inches from the raw edge) This will become the waistband of your skirt. |
 |
| Measure down 12 inches from the sparkle line across the entire 1.5 yards of fabric and mark with a pin or fabric marker. |
 |
| I didn't explain that very well, so here is a drawing. You'll cut along that dotted line where you've measured 12" |
 |
| Cut the entire length that you just measured. Then it will be 1.5 yards long and 12 inches (not including raw edge) tall. |


 |
| With right side out, fold along the sparkle line and pin it down as you go (see next picture) |
 |
| If you don't care what the inside of the skirt looks like, this is the easier way to do it--leaving the edge totally raw. Since this skirt was for someone else, I wanted to make the inside look decent ;) See next picture... |
 |
| Tuck the raw edge under by a quarter or half inch and pin so that the raw edge will not be visible |

 |
| When you sew around, make SURE you stop 1-2 inches from where you started. You need to leave this open in order to get the elastic in. You will sew it shut later. Also, make sure you're leaving at least 3/4" from the sparkle line fold so that the elastic will fit. |


 |
| The safety pin makes it easier to feed through the tunnel you just made |


 |
| Or you could do this with just the elastic, before you put it in the skirt. I didn't think of that until now! ;) |
 |
| If you're making a larger skirt, make sure you allow an extra inch or so of elastic to overlap like this |
 |
| Sew elastic together and then stretch out the skirt so that the elastic gets swallowed up inside of the tunnel. |

 |
| Stretch it as far as it will allow. The fabric will stop you before the elastic does. |
 |
| This next part is the hardest part of the whole thing. You're going to sew through the fabric and elastic, WHILE STRETCHING THE ELASTIC inside of the fabric. |
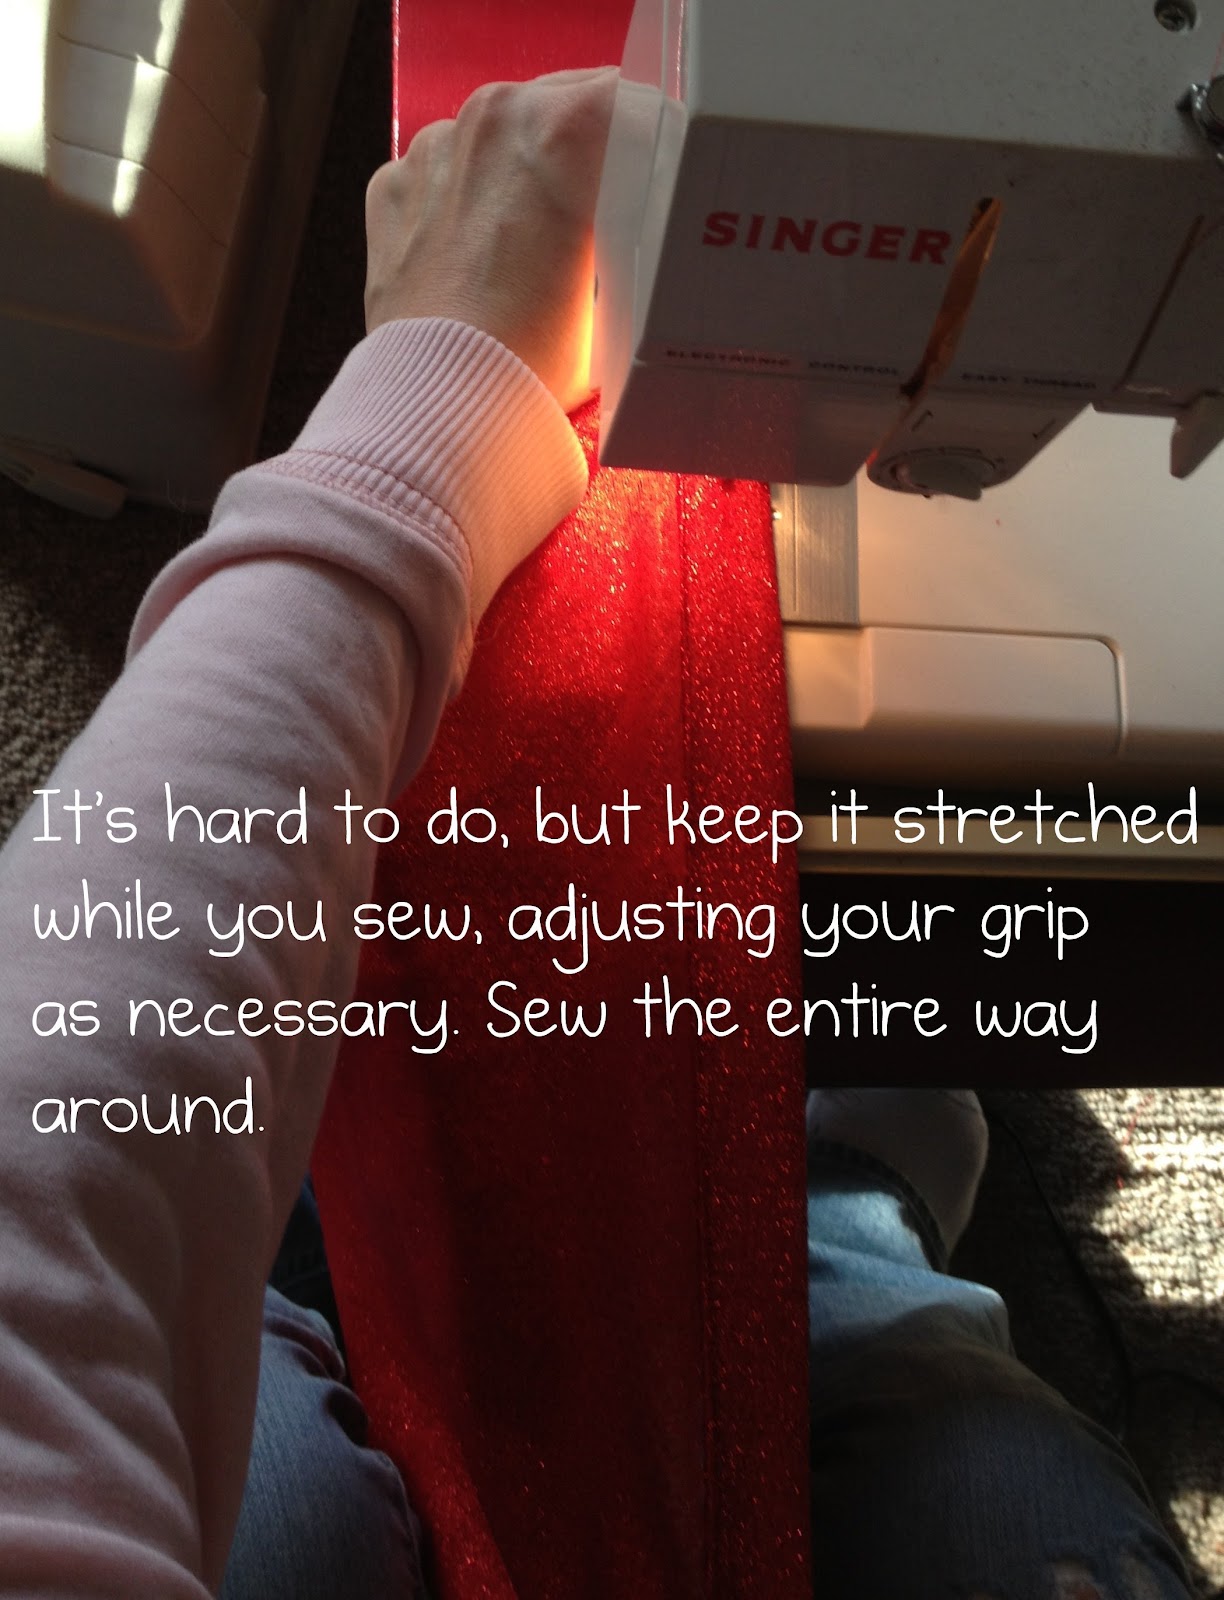 |
| The fabric will be pulled taut, because you're stretching the elastic out while you sew. If you don't stretch it out while sewing, the elastic will be sewn in a way that it won't stretch any more without breaking the thread holding it together. You may need to ask someone to give you an extra hand for this part. |
 |
| Now the waist band is done, but the bottom edge is still raw. Turn the skirt inside-out again. |
 |
| Fold the raw edge up 1/2 inch, and then fold it again so that it's a nice, neat hem of 1/2 inch. Pin it down like this around the entire skirt, and then sew. |
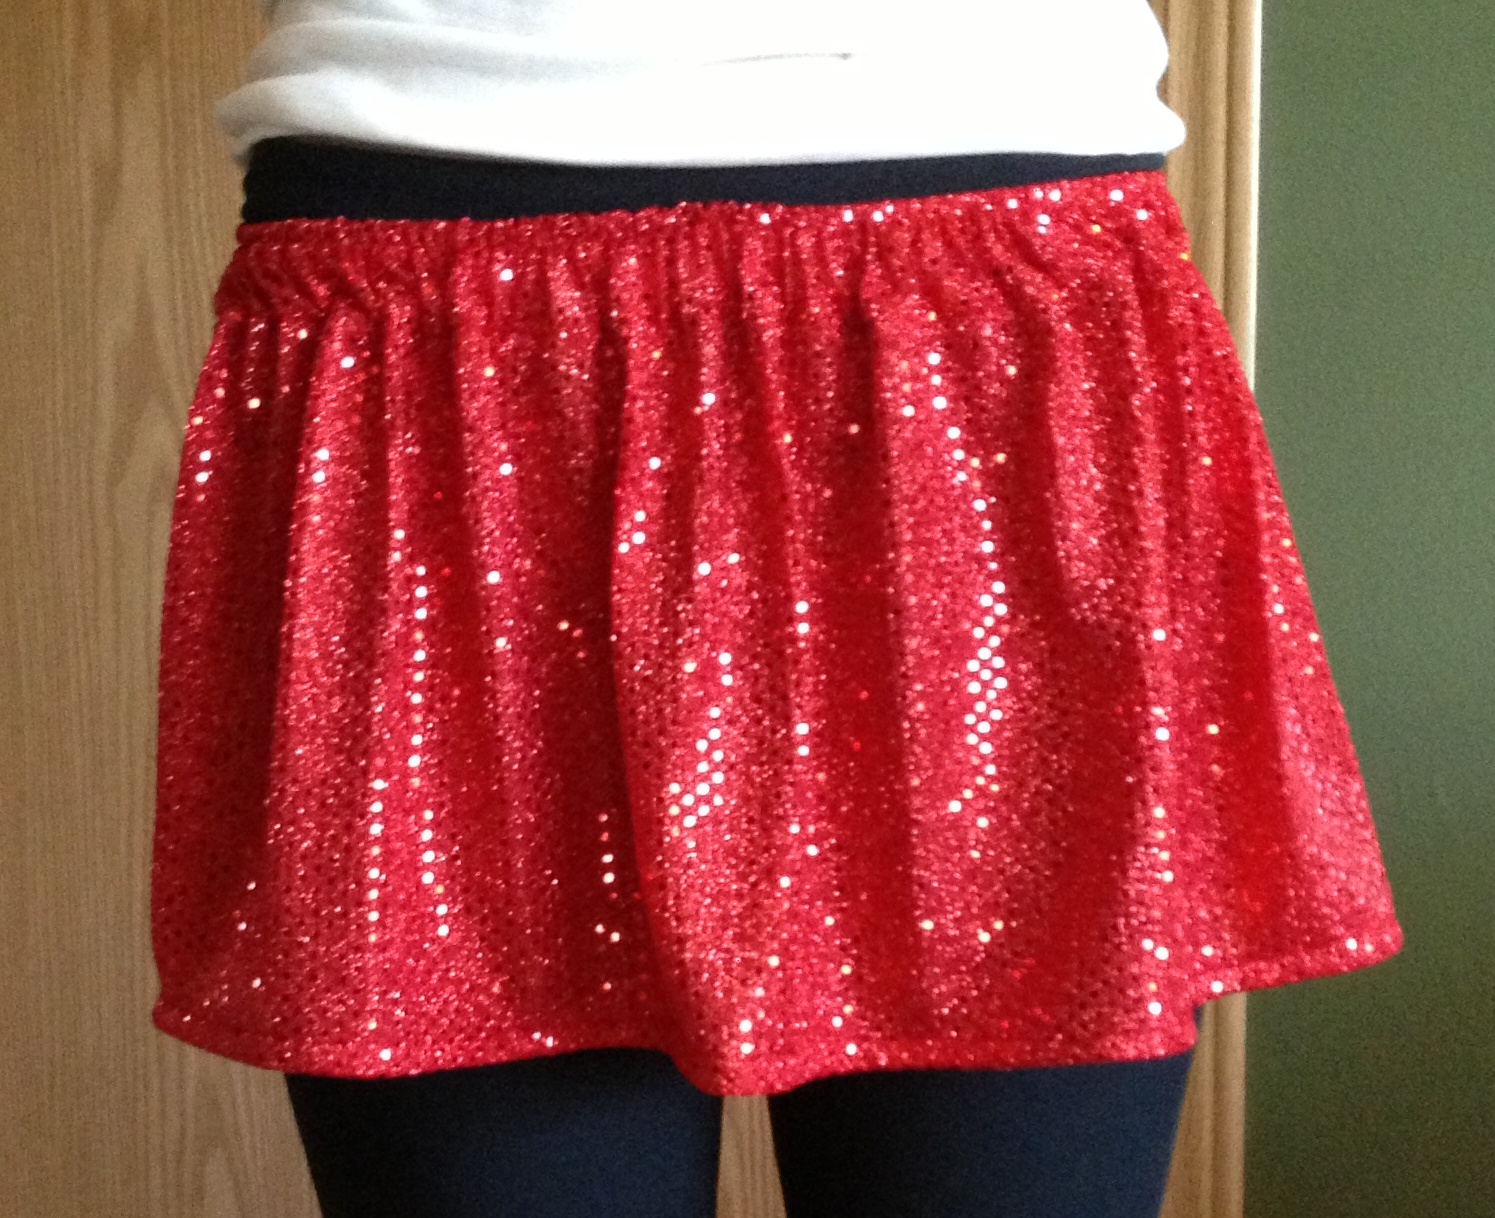 |
| Voila! A sparkle skirt. You definitely want to wear something under it ;) |
Now, about buying half the amount of fabric...
I've always bought 1 1/2 yards of fabric for my skirts, but you can also buy half the amount you need. Here is what it looks like when you lay it out, unfolded:


